I am trying my hand at landscape quilting. Recently diagnosed with rheumatoid arthritis in my hands, I have found most hand activities too painful to do. But I can't live without fabric creations (or gardening for that matter) and I thought perhaps I could cut and assemble pictures with fabric.
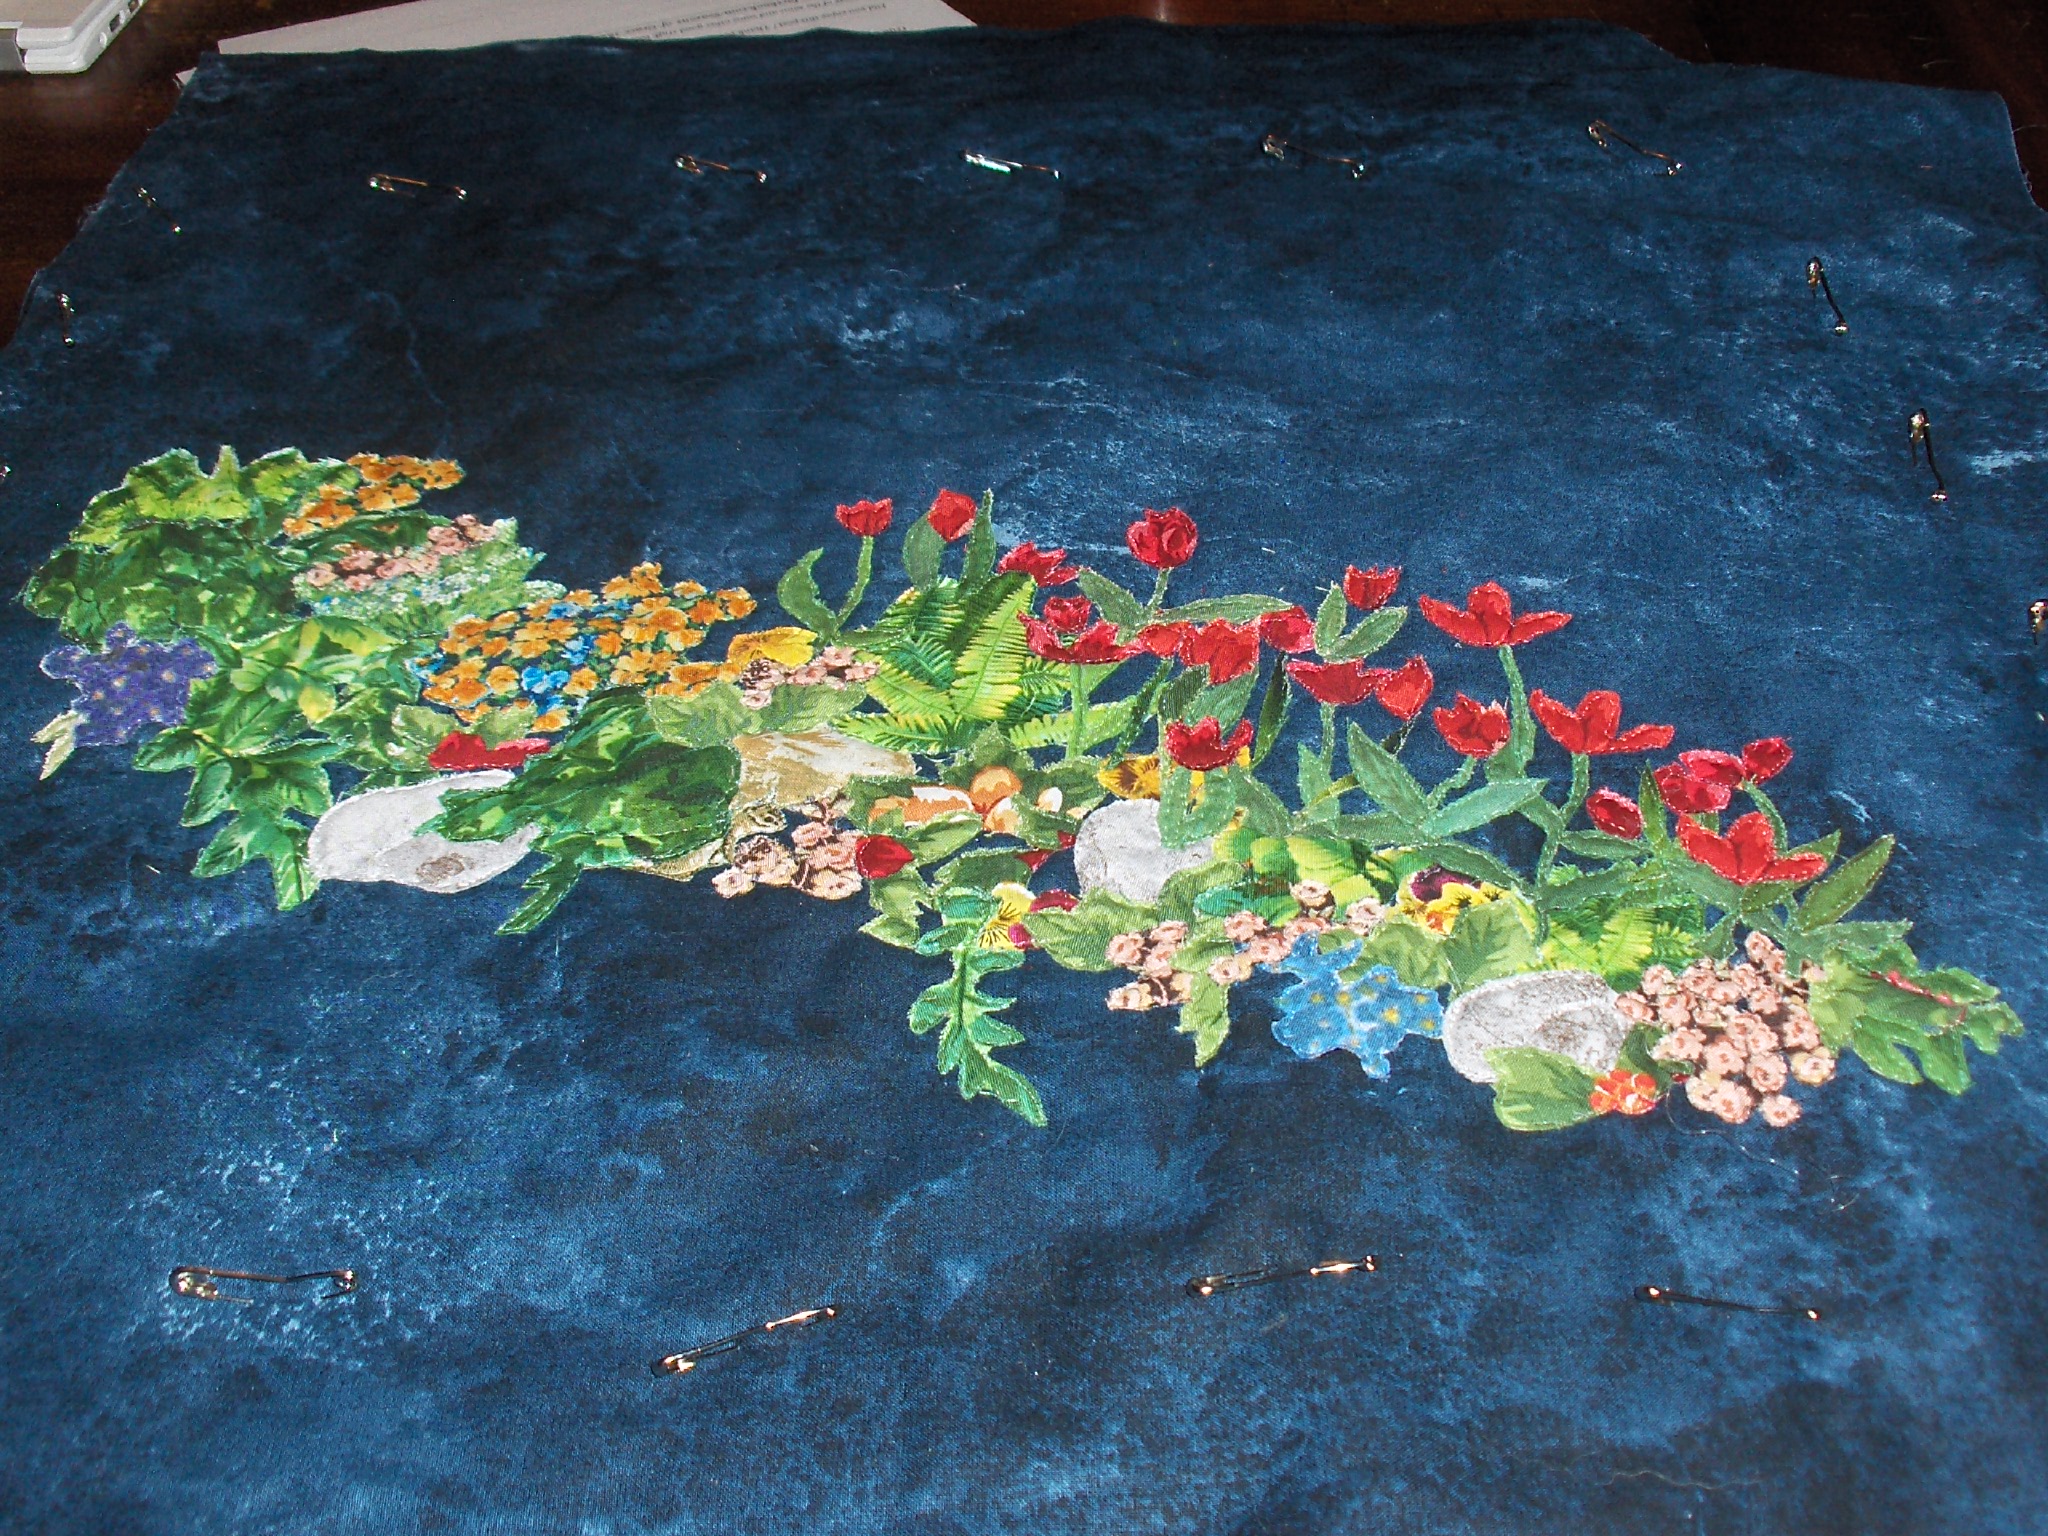
Inspired by the late Nancy Zeiman and her friend Natalie Sewell, I took this project from one that Natalie did of a rock garden. You cut leaves and flowers from various fabrics and then assemble them in layers on a background fabric. I chose a batik quilting cotton for the background, a dark blue with splashes of white through it. Then cut out foliage, first I cut just green shapes from fabric that looked like greenery but then I realised I actually needed leaf shapes. So those first cuts were discarded and I "fussy cut" leaves from several different fabrics, colouring the ones that weren't quite the right green with permanent markers. Then flower shapes, and a lot of cuts to resemble tulips. I couldn't find tulip fabric so had to improvise. Also the tulip leaves were cut from other leaves and reshaped to resemble tulips.

This is a photo of the quilt with all the flowers and leaves stitched onto it. Now I have to make a border to resemble a photo mat, I have chosen a quilting cotton in the golden orange shade of some of the flowers. Then a second border of the background fabric is added, then a final thin binding is put around the edges.
And the final step is to stipple quilt the entire background. This is done free- motion (feed dogs down) and I love doing this. I made a jacket a number of years ago, all the fabric was stippled before constructing the jacket and I still wear that jacket ten years later.
A close up of the fabrics assembled and stitched to the background
A close up of some of the tulips
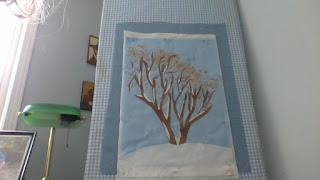
My hands are objecting to the work, so I can only do about half an hour at a time, but it is so incredibly satisfying. I already have several ideas for future projects I want to do.